How to Craft the Perfect Email Newsletter in Mailchimp
So, you’ve been growing an email list for your business—that’s great! Building an email list is a key way to connect your business with a targeted audience of interested followers and potential customers, with whom you can share information about your products and services via email marketing.
The first step in effective email marketing is, of course, creating your email list and encouraging “the right” people to sign up for it. (Not sure who exactly “the right people” are? Check out my tips on defining your target audience.)
It’s helpful to encourage email sign-ups with a special opt-in gift (here are some of my favorite opt-in gifts for growing your mailing list!) or with an interactive quiz relevant to your audience’s interests—these help to target people who are interested in your specific content and business services.
The second (and equally important!) step in growing your email list is to engage it. That means: sending reasonably regular content of value to your readers.
I’ll refer to these regular messages as “newsletters,” but you can think of them as “updates,” “emails,” “e-blasts,” “notes,” or whatever makes sense for your business purposes and the relationship you’ll be cultivating with your email subscribers.
Benefits of sending regular email newsletters to your mailing list
Sending regular, quality communication to your email list helps to keep them informed and engaged with your business and the content you create.
For example, your email newsletter can help to:
provide educational content relevant to your audience
establish your business and brand as an industry expert
share important updates about your business, products or services
provide examples of relevant content your audience will enjoy or may have missed (such as previous popular blog posts)
share reminders about the products or services you offer and how to access them
let your readers know how to get in touch with you (or engage with your business in additional ways if they’re interested)
further establish your brand personality
share special offers exclusive to your list
And the list goes on! Your newsletter is an opportunity to incorporate whichever of these strategies is beneficial for your business.
Below I’ll walk through a step-by-step process for setting up your email newsletter template to achieve whichever of these goals you’re focusing on.
But before we dive in…
The best email marketing tools for small business owners
While there are many, many email marketing platforms out there to choose from, Mailchimp is one of the tools I most often recommend to the small business owners and entrepreneurs I work with, and here’s why:
It integrates seamlessly with your Squarespace website (which, as you may know, I also recommend for small business owners), allowing you to easily collect email addresses on your website and send them directly into your Mailchimp list(s).
Its simple drag-and-drop editing interface is easy to learn and use.
It offers a wide range of email templates that can be branded to match your business’ needs and create a seamless user experience.
It offers a free plan for your first 2,000 subscribers (yay!).
Whichever email marketing platform you choose, you can apply the same principles outlined below. But I’ll walk through them with specific instructions and examples from Mailchimp:
How to structure your email newsletter in Mailchimp
First of all, there is no one “right” or “wrong” way to structure your email newsletter.
Totally have some fun with it! Share your business’s personality, share content of value to your audience, and don’t be afraid to be different.
(And, don’t worry about trying to please everyone! As I try to emphasize often, it’s most efficient and impactful to write directly to your target audience. These are the people who want to be on your list because they find the content you share to be useful and valuable.)
The first step in setting up your email marketing is to:
Create your newsletter template
To create consistency across your emails (and reduce duplicating your work down the road!), I recommend setting up a specific “Newsletter” template in your Mailchimp account.
To do this, head to Templates > Create Template. Select one of the layouts or themes that catches your eye and works for your needs.
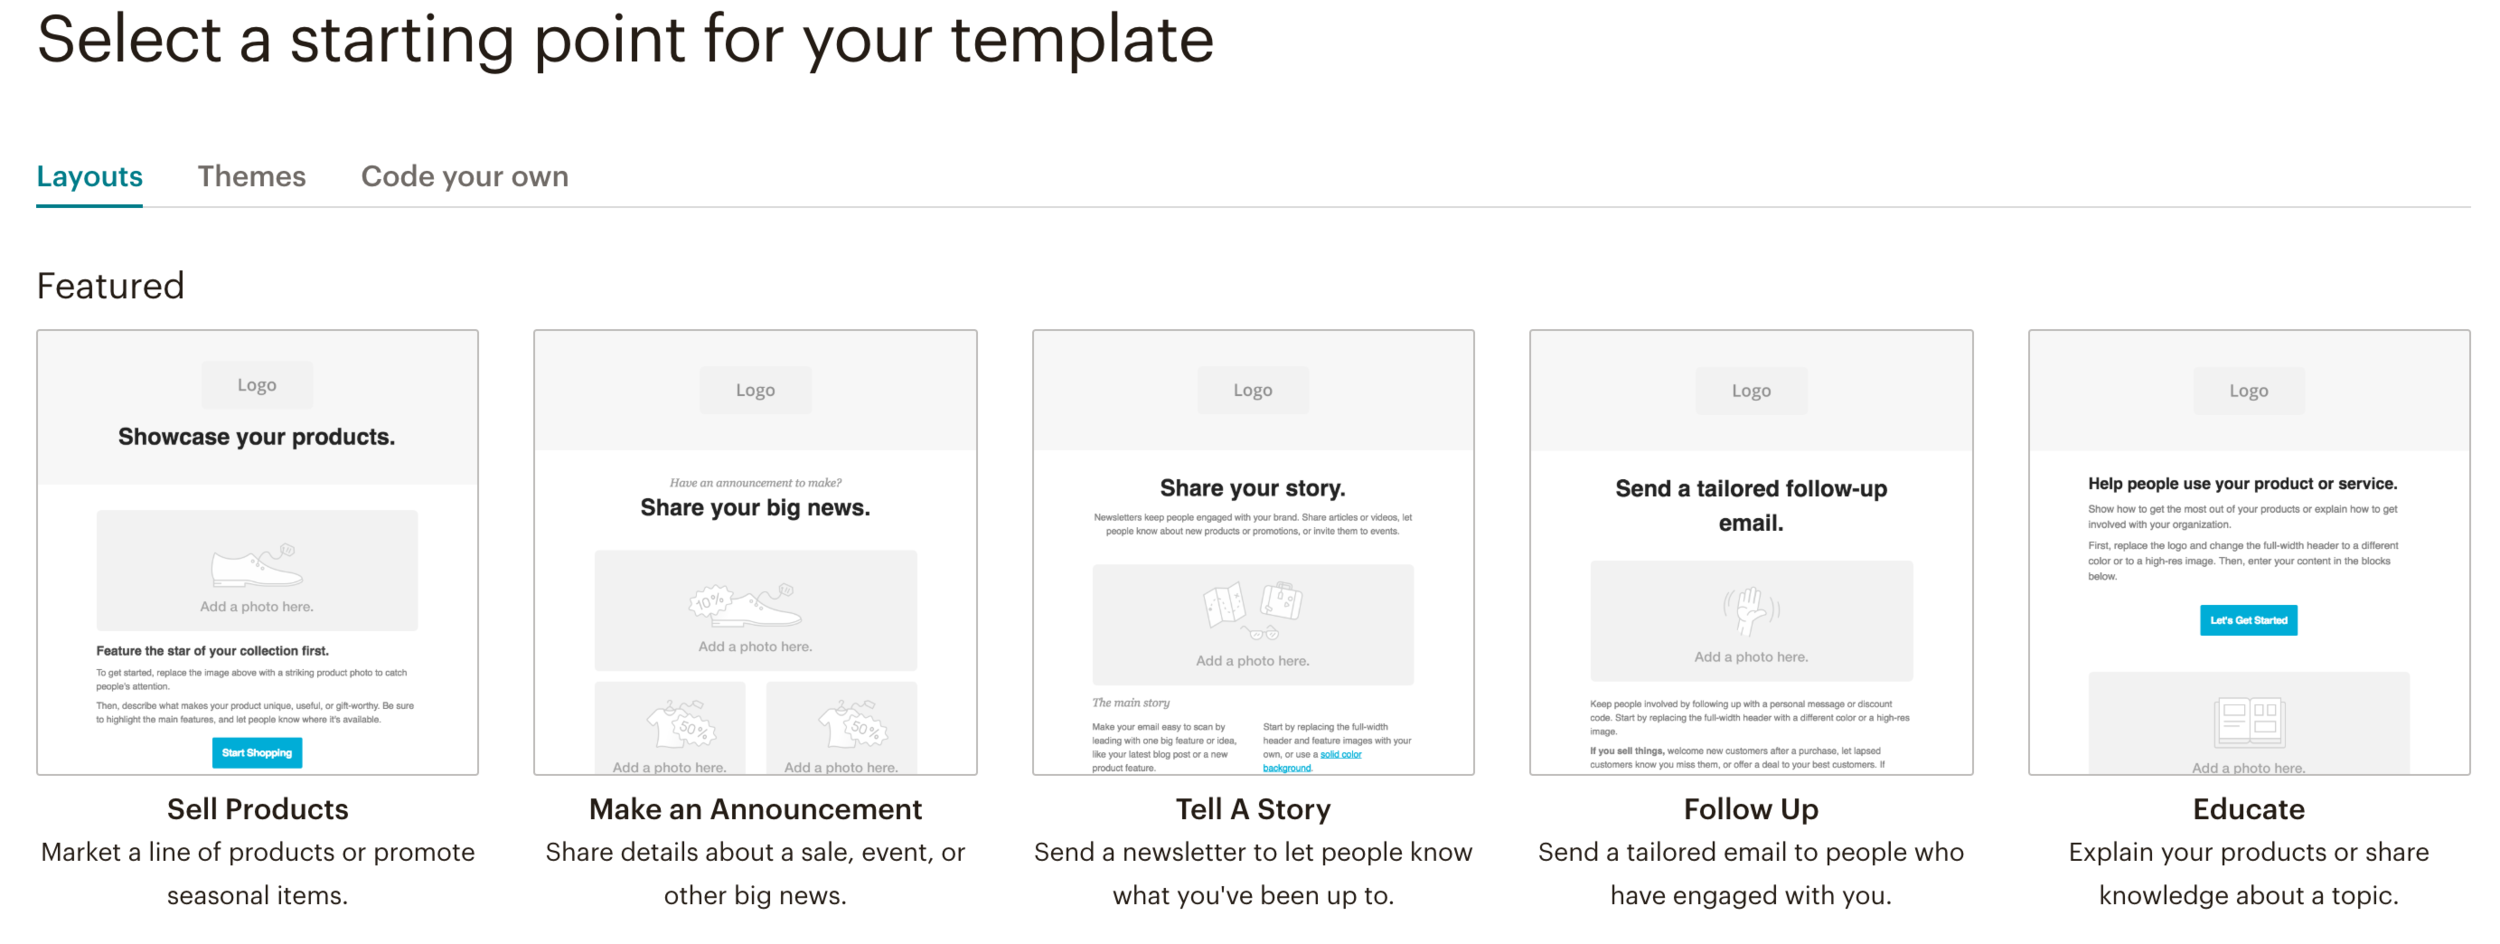
After you select your template, which will provide the structure for your emails, we’ll customize it to be branded for your business, and to include all the important pieces you’ll be using in your regular email newsletters.
Customizing your Mailchimp newsletter template
Here’s what I recommend customizing and including in your newsletter template:
1. Your logo
Of course, it’s important to add your logo to your email marketing!
Most commonly this is added to the top of the email to clearly set the context for what the reader is receiving and from whom—but, feel free to add it elsewhere in your layout if that makes more sense for your needs.
Simply add your logo with an image block, keeping in mind the following best practices:
Use a high resolution image under 1200px wide (any larger will flood inboxes)
Update image alt text with a simple, descriptive title (this will be displayed if the image fails to load—for example, my logo would be labeled “Five Design Co.”)
If applicable, add a click-through link pointing your logo to your website homepage—the logo is typically a place readers will expect to find a link back to your website
2. Your brand colors
Mailchimp allows you to stylize your emails to match your overall business branding, and one way to do that is to incorporate your brand colors.
There are a few key places to add your brand colors throughout your Mailchimp email template:
Links: I like to keep links stylized in a brand color. Update this under Design > Body > Body Link. You can also choose to underline and/or bold your link (I’d recommend going with whichever link styling you use on your website, for consistency).
Buttons: Click on one of the buttons in your template, then head to Style > Background to update the color. (You can also update the button text color here too.) Check the box Apply to all existing Button blocks to update them all at once.
Headings: You may choose to stylize your header font in a brand color. This can be adjusted under Design > Page > Heading 1, etc.
3. An intro message
For most email newsletters, you’ll want to include some type of intro text. This could be a bold header about the content below, a blurb with updates or important information, or a personal message from you (or someone in your business).
Your email newsletters can be crafted in the voice of your business/brand, or from a specific person in your business. (For example, the Five Design Co. newsletter updates come from me, Mel, because I’m the one writing them!)
Here’s an example of a newsletter intro message I’ve sent:

4. On-brand imagery
Though there are varying opinions on the pros/cons of using images in email marketing, Mailchimp is built to feature compelling imagery—so I say, use it!
But, a note on using images in email newsletters:
There are a few drawbacks to using images in your email marketing (such as your Mailchimp newsletters):
Image-heavy emails may take longer to load.
Some email clients (or email settings) block images from downloading automatically, which can result in your emails not displaying as they should.
Some email clients may be more likely to flag image-heavy emails as Marketing or Spam (meaning they could end up in the dreaded Promotions folder in Gmail).
In general, it’s best to not rely too heavily on images in your email newsletter—they can certainly be used to support and enhance your message, but they shouldn’t be your entire message.
Mailchimp image best practices:
Use high resolution images under 1200px wide (larger files can overwhelm inboxes)
Update image alt text with a simple, descriptive title (this will be displayed if the image fails to load—for example, my logo is labeled “Five Design Co.”)
Images can be linked—and it’s a good idea to provide plenty of links back to relevant places on your website
Be sure your message is communicated both with and without your image
5. Call-to-action
While your email newsletter may be full of awesome content and opportunities to take action (great!), it’s best to highlight and emphasize just one call-to-action you’re encouraging your readers to take.
There are many different ways to share your call-to-action, though most involve links—in the form of a button, a linked image, text links, etc.
Here I use a text link and button to send readers to my latest blog post:

6. Links to relevant content
Your regular email newsletter will typically serve as an avenue for sharing fresh content with your audience. Often, this entails promoting and sharing links to specific blog content.
Whether you write a blog or not (though we think you should!), find ways to share relevant content with your readers—so they know that when they open an email from you, they’ll receive new and interesting information relevant to their interests.
7. How to contact you
Email marketing is not just a one-way street of sending content to your audience. It’s also helpful to let your subscribers know how to contact you.
Maybe your business has a customer support team your subscribers might find useful, or maybe you’re available to field any questions they may have.
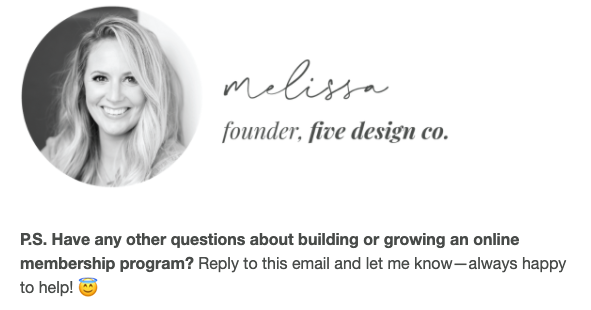
You can allow subscribers to reply directly to you by hitting “reply” on your newsletter. If you’d like to encourage this, simply include a little message in your newsletter template that lets people know this is an option. (And, ensure that your newsletter “reply to” email address is set to the account you’ll be checking for these messages!)
Here’s an example of a message I’ve included in our email newsletter, letting subscribers know they’re welcome to reply and will receive a response:
8. Social buttons
I also like to include social links in an email newsletter.
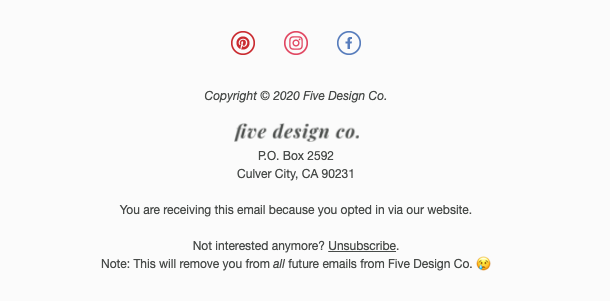
If your primary call-to-action is to send readers to these links, you’ll want to call them out in other ways as well. But in general, they’re just “helpful to have, here if you need them” resources for your readers. They’re most often placed at the bottom of the Mailchimp template, either in the footer or directly above.
Here’s an example from my email newsletter footer:
9. Footer
Though most of your email newsletter template is a blank slate you can do with as you’d like, there are a few essential elements to include in your email newsletter footer to ensure you’re complying with the CAN-SPAM Act. (Unlike its name suggests, this means you can’t spam people—it’s a law to prevent unsolicited email marketing.)
Here are the elements you must include in your email newsletter footer:
your business mailing address
a link to unsubscribe and/or update email preferences
In addition, Mailchimp includes a few other default elements:
Copyright information: Reminds readers that the content included in your email is your intellectual property and cannot be reproduced without your permission. Mailchimp will automatically keep this updated with the current year and the name of your business (as defined in your Mailchimp account settings).
List description: This is a statement letting people know why they’re receiving an email from you. This statement can be individually set for each mailing list you use. Typically, you’ll remind readers that they signed up for your mailing list via your website, or that they’re enrolled because they’re a member of a certain group or program.
MonkeyRewards: If you’re on a free Mailchimp account (yay, free!), your email footer will include a Mailchimp logo. (When you upgrade to a paid plan, you’ll have the option to remove this.) You can update which version of the Mailchimp logo you’d like to use under Design > MonkeyRewards > Style.
The Mailchimp footer can look a little crazy in the back-end (see below), as it’s set up to pull in information specified in other parts of your Mailchimp account. So, always good to send yourself a test email to be sure the footer content is displaying as you’d like.
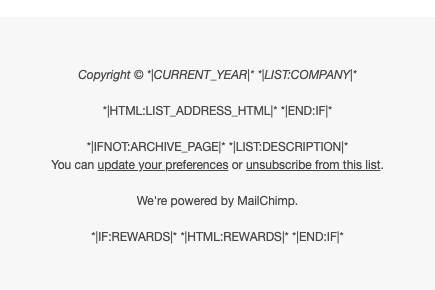
→ Just a note that the footer content will not correctly populate until you’ve specified the list you’d like your email to send to, so be sure to do that in Step 10 before previewing and testing your newsletter template.
10. Subject line
Your subject line is one of the most important elements of your email, because it influences whether subscribers will actually open your email and read its contents.
When crafting your subject line, choose a message that is:
descriptive of your email content
uses keywords of interest to your readers
uses an element of surprise or curiosity
evokes the emotion/feeling you’d like readers to have
When setting your subject line for each email newsletter in Mailchimp, there are also a few other important pieces of information to provide about your email:
Mailchimp email information
You’ll need to update these items for each email you’ll send with your newsletter template:
Name your email: This is an internal name only, so choose a name that will help you understand the content and purpose of each specific email—I’d choose something along the lines of “Newsletter: [Topic/Date]”
Email subject: This is the subject line your subscribers will see. You want your subject line to be descriptive of your email content, and compelling enough that subscribers will want to open it.
From name: This will be the sender name displayed to your subscribers. Choose something they’ll recognize, like your personal name or your company name. Some people choose to personalize their message with a hybrid from name such as “Melissa from Five Design Co.” or “Melissa | Five Design Co.”
From email address: This is the email address your message will be sent from, so choose something that makes sense for the email’s purpose. Typically, your welcome email series should be sent from your business’ primary email address (such as hello@website.com). It’s also okay to send from an individual’s email address if they’re the person that will be communicating with the subscriber list (for example, name@website.com).
Preview & test
As you finish up each email, it’s a good idea to send a live test of each message to yourself to confirm that everything is appearing as it should.
Head to Preview and Test at the top of the page > Send a Test Email and enter your email address. Be sure to check the message on both desktop and mobile, as it will display differently on each!
Send
When your emails are all designed, you’ll save your changes and click Start Sending. Yay! 🎉

Create a professional website to grow your business & brand
Get my free checklist for optimizing your Squarespace website: