How to Set Up Your Email Welcome Automation in Mailchimp
One of the most common goals of many websites, particularly new businesses or blogs, is to grow an email list of interested subscribers—people you can maintain contact with to build community and promote your business’ services or products, new launches, events and initiatives. 💃
The most popular email marketing tools for small business owners
While there are many, many email marketing platforms out there to choose from, Mailchimp is one of the tools I most often recommend to the small business owners I work with, and here’s why:
It integrates seamlessly with your Squarespace website (which, as you may know, I also recommend for small business owners), allowing you to easily collect email addresses on your website and send them directly into your Mailchimp list(s).
Its simple drag-and-drop editing interface is easy to learn and use.
It offers a wide range of email templates that can be branded to match your business’ needs and create a seamless user experience.
It offers a free plan for your first 2,000 subscribers (yay!).
Why you need a welcome email for your mailing list
When a new subscriber joins your email list, it’s helpful to send them an automated welcome email. The purpose of this email is to:
confirm their subscription
warmly welcome them to your community
let them know what type of content they can anticipate receiving from you, and how frequently you’ll be sending it
provide examples of relevant content they may enjoy or may have missed (such as previous popular blog posts)
let them know what services or products you offer and how to access them
let them know how to get in touch with you (or engage with your business in additional ways if they’re interested)
further establish your brand personality
remind them what’s special about your list—what special content, resources or offers do they have access to that non-subscribers don’t?
… & why a welcome series is even better
As great as it is to have a welcome email for your new subscribers, it’s even better to provide them with an entire automated welcome series.
There are a few reasons for this:
One email may get lost or remain unopened—and then your welcome message is not received.
You can drip content through a welcome series, providing more value while remaining focused in each email and not providing an overwhelming amount of content all at once.
You can catch people at different points in their relationship with your business—perhaps the first welcome email comes immediately after they subscribe, they get another a week into it, and another a month later.
How to set up your Mailchimp welcome automation
Mailchimp has their own step-by-step documentation on creating an automated welcome email series, which is helpful for more detailed step-by-step information. (My overview here will focus more on the strategy recommendations behind each step of the process!)
1. Set up your Mailchimp account
Create your Mailchimp account (it’s free!).
In email marketing it’s important to comply with international spam laws that require you to list certain information about your business in the footer of each email. Mailchimp will automatically populate your email footers with this information, so make sure it’s entered correctly in Account > Settings > Contact Information.
You’ll also want to be sure you authenticate your domain with Mailchimp (detailed instructions here).
2. Connect your Mailchimp account to Squarespace
To maximize the benefits of pairing your Squarespace website and Mailchimp account, you’ll need to be using Squarespace’s Business plan or higher (here’s more on the differences between Squarespace’s plan options, and how to choose the best plan for your business’ needs).
Connect your Mailchimp account to any Newsletter Block in Squarespace: in the Newsletter Block editor, head to Storage > Connect other services > Mailchimp. You’ll be prompted to log in to your Mailchimp account and select the audience you’d like to add your new subscribers to.
Should you require double opt-in after subscribing?
Mailchimp offers a double opt-in process asking subscribers to confirm their subscription to your mailing list before they’re officially added to your list inside Mailchimp. This setting is enabled by default in your Squarespace Newsletter Blocks, though you can uncheck it if you’d like.
What’s the difference? The extra step in the process helps to confirm that people on your email list truly want to be there—essentially, they’ve opted-in to your list twice.
This can help prevent spam bots from signing up for your email list (meaning you could end up paying for subscribers who aren’t real people or potential customers—boo!), as well as reduce the number of people who unsubscribe or mark your emails as spam because they’re not interested in receiving your content.
That said, the double opt-in process does create an extra step in the process of subscribing to your list and some potential subscribers will not complete the entire process and thus not be added to your list.
3. Create a branded email template
To create your welcome automation, we’ll want to use a nicely branded email template. Head to Templates > Create Template. Select one of the layouts or themes that catches your eye and works for your needs.
Here’s what we recommend customizing and including in your template:
your logo
your brand colors
photography or imagery that aligns with your brand
if applicable, social buttons to your social channels
an intro/welcome message
a section highlighting relevant content (could be blog posts or products)
Here are more details and tips on designing a branded email template in Mailchimp.
4. Create your email automation series
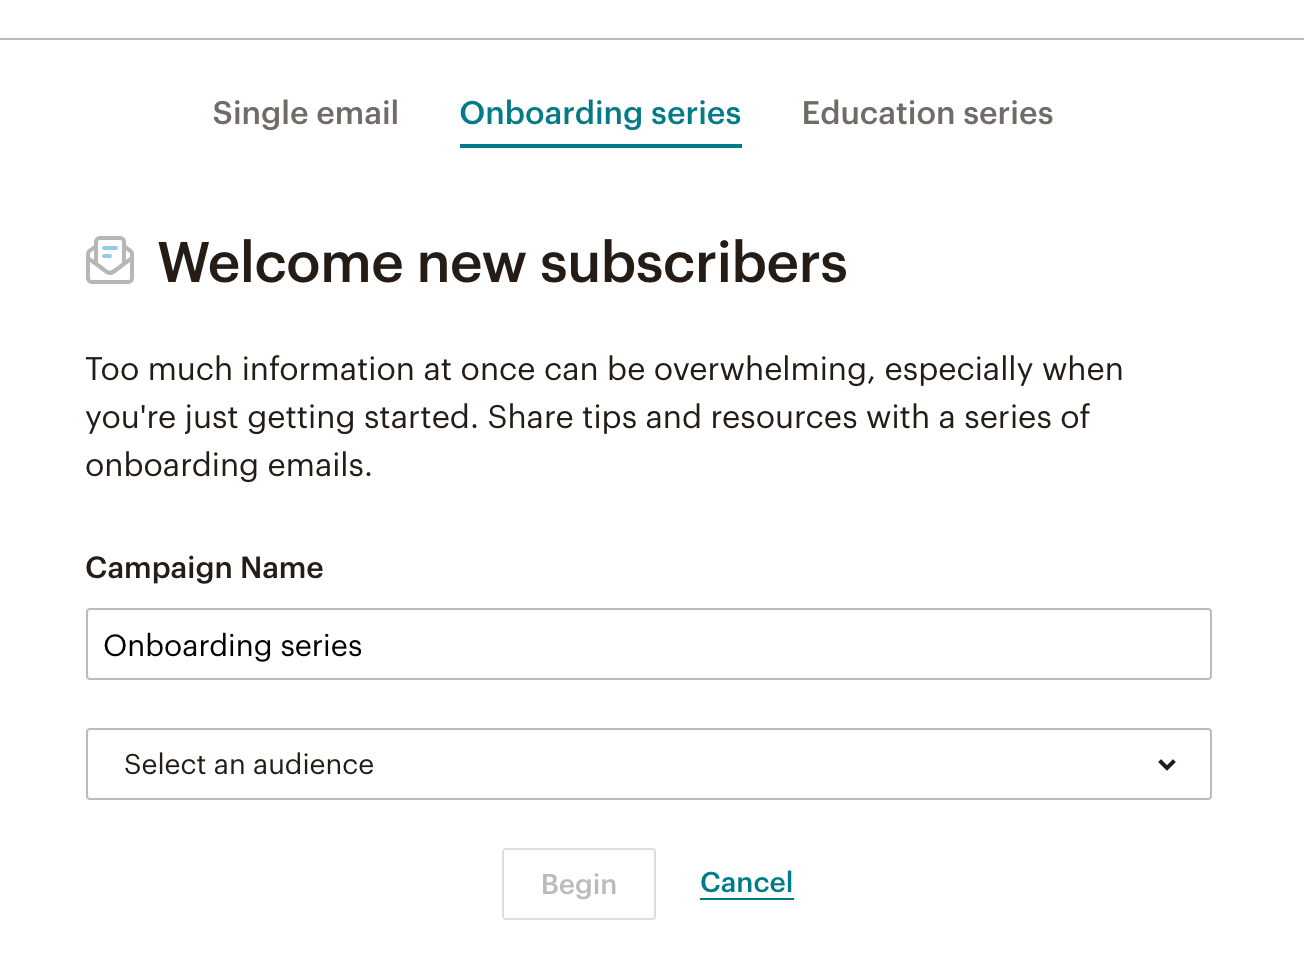
In Mailchimp, head to Campaigns and click Create Campaign. You’ll select Automated Email > Welcome New Subscribers > Onboarding Series. Name your campaign and select the list you’d like it to send to.
Your automation panel provides information on each email in the series, as well as certain information about each specific email.
For the onboarding series, the trigger for the first email is automatically set to “immediately after contacts subscribe to your email marketing.”
You can keep this trigger as is (unless your business needs require some type of delay for sending your first welcome message, in which case you’ll want to adjust it accordingly).
For the first email in your series, click Design Email.
Email information
When prompted, you’ll provide some information about your email. Here are a few tips:
Name your email: This is an internal name only, so choose a name that will help you understand the content and purpose of each specific email—I’d choose something along the lines of “Welcome Email #1”
Email subject: This is the subject line your subscribers will see. You want your subject line to be descriptive of your email content, and compelling enough that subscribers will want to open it.
From name: This will be the sender name displayed to your subscribers. Choose something they’ll recognize, like your company name. Some people choose to personalize their message with a from name such as “Melissa from Five Design Co.” or “Melissa | Five Design Co.”
From email address: This is the email address your message will be sent from, so choose something that makes sense for the email’s purpose. Typically, your welcome email series should be sent from your business’ primary email address (such as hello@website.com). It’s also okay to send from an individual’s email address if they’re the person that will be communicating with the subscriber list (for example, name@website.com).
Select a template
This is where we’ll call upon the branded template you created earlier. Find it under Saved templates.
Design
Here’s where you’ll customize your email content for each email in your series. When you’re finished, click Save and Continue.
Preview & test
As you finish up each email, it’s a good idea to send a live test of each message to yourself to confirm that everything is appearing as it should. Head to Preview and Test at the top of the page > Send a Test Email and enter your email address. Be sure to check the message on both desktop and mobile, as it will appear differently on each.
Move down the list, clicking Design Email for each separate email in your automation and adding specific content for each message.
Set the Trigger for each message—typically for a welcome series, the trigger is a certain number of days (or weeks) after the previous message in the series was sent. While this is a great option to stick with, you can change your trigger to any other message trigger supported by Mailchimp. (Some options are: previous email opened, previous email not opened, tag added, etc.)
The number of emails in your automation may vary depending on your business needs. For example, if you have lots of content and information to share with new subscribers, you may want to use 4-6 emails in your welcome series. Or, if you prefer to keep it simple and stick to a welcome message plus a couple check-ins, you could stick to three emails. Your call. You can add or delete emails from your automation list as needed.
5. Turn on your email welcome automation
When your emails are all designed, you’ll save your changes and click Start Sending. Yay! 🎉
Create a professional website to grow your business & brand
Get my free checklist for optimizing your Squarespace website:


