How to Properly Format Images on Your Squarespace Website
Whatever your industry or business type, it’s likely that images play an important role in adding context and branding to your business’s website.
I’ve chatted before about how to source quality imagery for your website, as well as how to ensure your imagery fits within your overall branding and style guidelines. Now, here are some more details on how to properly size and format your images to work well on your Squarespace website.
While adding images to Squarespace is easy in and of itself, there are some behind-the-scenes best practices to keep in mind for both the design and functionality of your website:
Image ratio & dimensions will affect how an image displays on your website—whether it’s clear and proportional or pixelated and distorted.
The focal point of your image will affect how it displays on mobile.
The image file size may slow down your page if it’s too large.
Your image metadata informs how search engines see and understand your image (and, thus, how your page is ranked in search results).
Here’s how to upload and format your images to load quickly, display properly, and boost SEO on your Squarespace website:
How to size your images for Squarespace
The proper dimensions and resolution for your website imagery is a balance of a couple factors: maintaining the high resolution needed to display the image properly (especially on retina screens!) + minimizing the image file size, so as to not slow down your website (nobody likes a slow website!).
In general, aim to keep your image file sizes under 500 KB each.
The proper dimensions may vary a bit depending on how you’ll be using the image on your website—for example, a full-width banner image requires significantly larger dimensions than a small icon.
For banner images, aim for 1500-2000px wide. Smaller images may appear blurry at that scale, and larger images will take longer to load.
For smaller icons (like the examples below), 600px wide should be plenty.
What is image aspect ratio?
One of the small details of web design that can make a big difference in the overall appearance and professionalism of your site is consistent image sizing.
Images come in all different sizes and aspect ratios. Some popular ones are: 1:1 (square), 2:3 (vertical rectangle), 3:2 (horizontal rectangle), 16:9 (widescreen)… though, of course, there are many others too!
Take a look at the examples below—they’re all landscape-orientation rectangles, but they all have a different aspect ratio:
This image has a 3:2 aspect ratio

This image has a 4:3 aspect ratio

This image has a 16:9 aspect ratio

If the images are presented alone, their varying aspect ratio might not matter much. But, because of their differences, they don’t necessarily fit well next to each other:


Yikes, they don’t align!
(Note that this is primarily an issue when viewed on desktop screen sizes—mobile images will typically always stack.)
For this reason, it’s a good idea to use consistent sizing for images across your site.
When you upload an image to an Image Block in Squarespace, it retains its original aspect ratio. Head to Image > Edit > Crop to adjust the aspect ratio as desired.
Adjust the image focal point for mobile
Even if your image looks great on desktop, be sure to check how it appears on mobile. Banner images are typically wide landscape orientation on desktop and portrait (vertical) orientation on mobile.
Squarespace banner images are built off of the same image on both desktop and mobile screen sizes, so for these spaces it’s important to choose an image that works well both as a wide landscape image, as well as has a vertical “slice” that still translates on mobile.
By default, the banner image focal point is set to the center of the image. Sometimes, this focal point needs to be adjusted for the subject of a banner image to display properly on mobile.
To adjust the focal point on a banner image, head to Banner > Edit and drag the focal point selector in the middle of the image to reposition it as desired. For an image with appropriate aspect ratio, this won’t affect the position of the image on desktop, but will help position it properly on mobile screen sizes.
Here’s an example of how I needed to adjust the image focal point of our homepage banner image to be more suitable on mobile devices:
Default image focal point:

Mobile position:

Adjusted image focal point:

Mobile position:
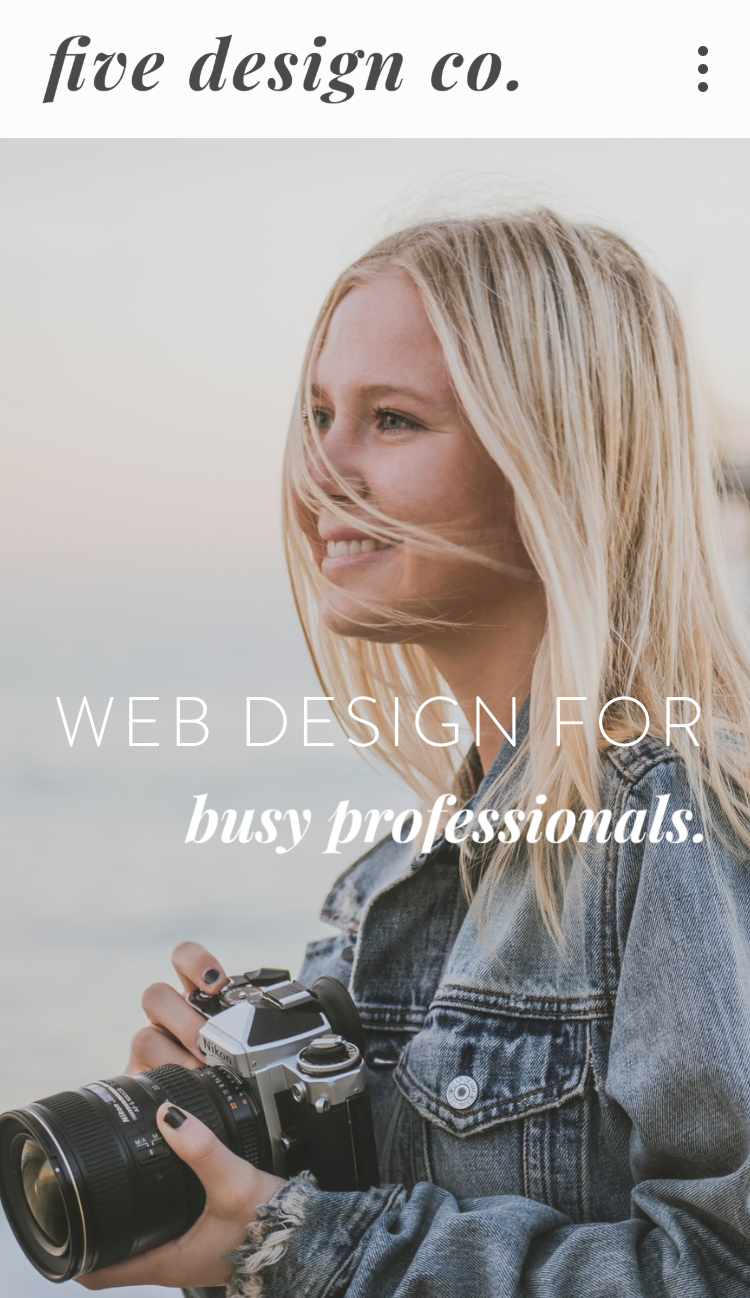
As you can see, because the image has the appropriate aspect ratio for the space, adjusting the image focal point does not impact how the image displays on desktop, so that stays properly positioned as we’re able to change the focal point to adjust the image’s positioning on mobile specifically.
Adding image metadata for SEO
Search engines can’t read images, so we need to give them a little help to understand the content of an image—which, in turn, helps them to better understand all the content of your webpage as it’s being ranked in search results.
There are a few different ways to properly format images for SEO, depending on the image type:
Image block
For Image Blocks it’s a good idea to add hidden image captions to help search engines understand the images used throughout your site.
To do this, add a descriptive, keyword-rich image caption as usual and then hide it via Image > Edit > Design > Do Not Display Caption (select from the drop-down menu of caption formatting options).
Note: If your site happens to utilize visible image captions, that works too! Just keep them as descriptive and keyword-rich as possible.
Gallery image
Gallery images include built-in image titles and descriptions.
It’s a good idea to add both of these descriptors to each gallery image on your website. Access your gallery image titles and descriptions via Gallery > Edit Image (the gear icon that appears when you hover over an image).

Banner image
In Squarespace, there’s no way to add an image title or caption to a banner image, but you can name the image file with a reasonably descriptive name. (For example, the banner image for this post is named properly-format-image-squarespace.png.) Search engines will see this filename and use it to understand the content of the corresponding image, and/or the context of your webpage.
Improve SEO on your Squarespace website!
Grab my free checklist for boosting search engine visibility + ranking: